TELESCOPES
The 20" homebuilt Newtonian Astrograph OTA shown and described here is now at Stellafane in Springfield, Vermont. It was very gratifying to be able to provide this instrument to a super group of people that make up the Springfield Telescope Makers and who are committed to keep alive the excitement and challenge of making one's own telescope.
Slotted for installation at some time in the future either in the McGregor Observatory or a separate observatory the OTA will bear the same inscription as the famous Pink Clubhouse built by Russell Porter on Breezy Hill when Stellafane was founded.
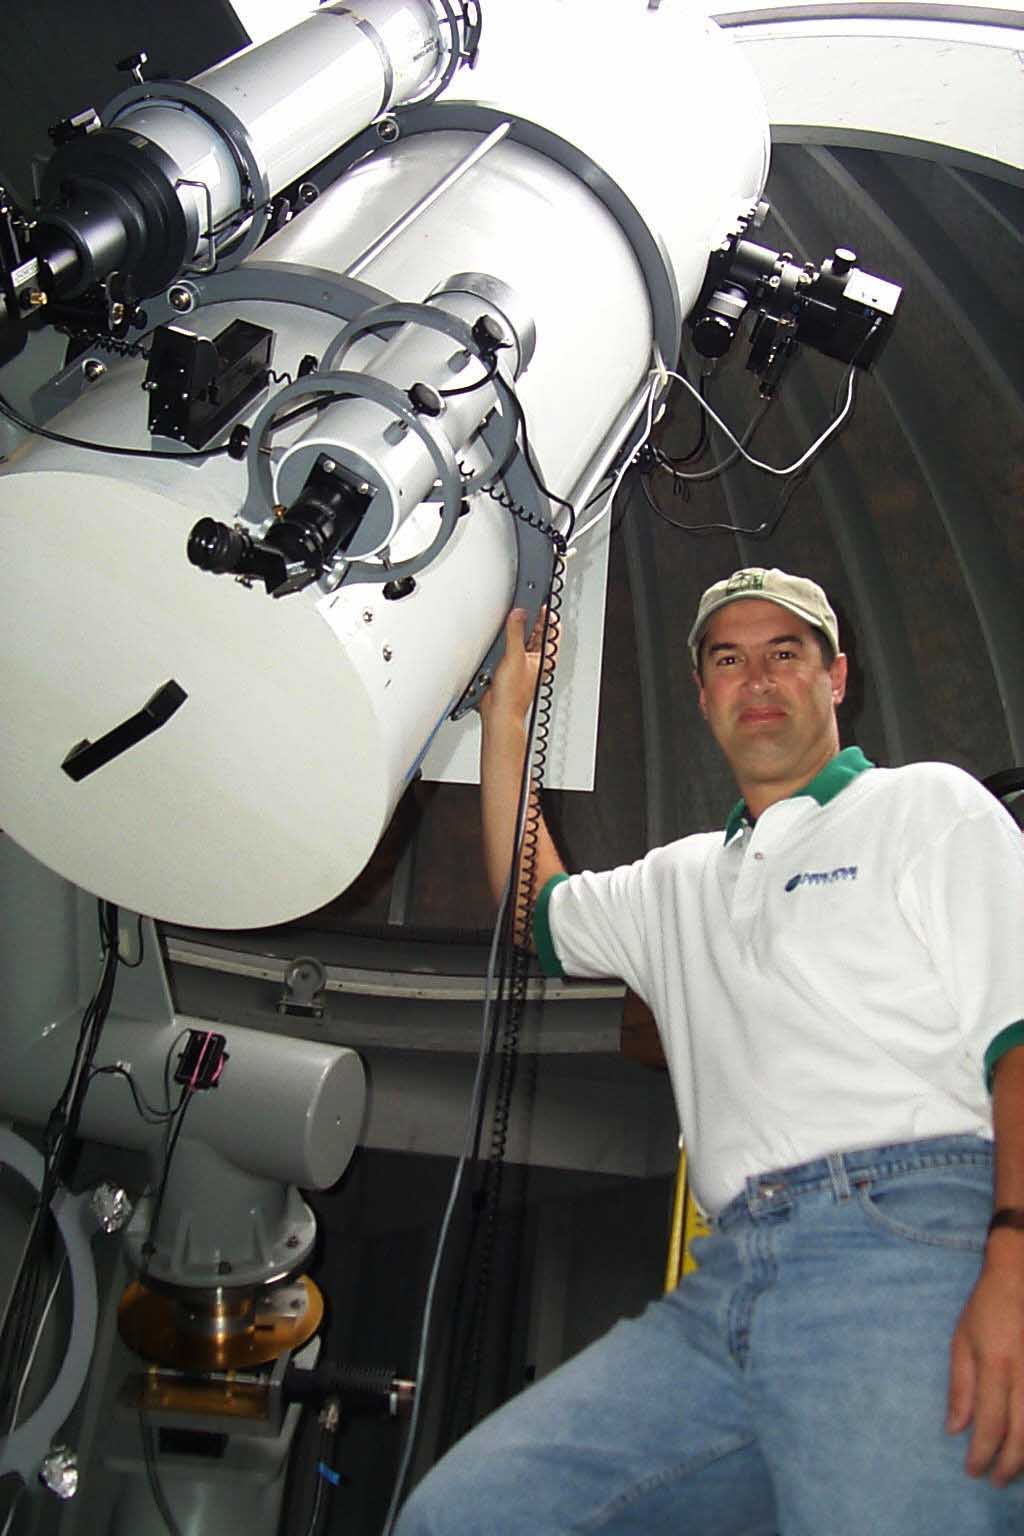
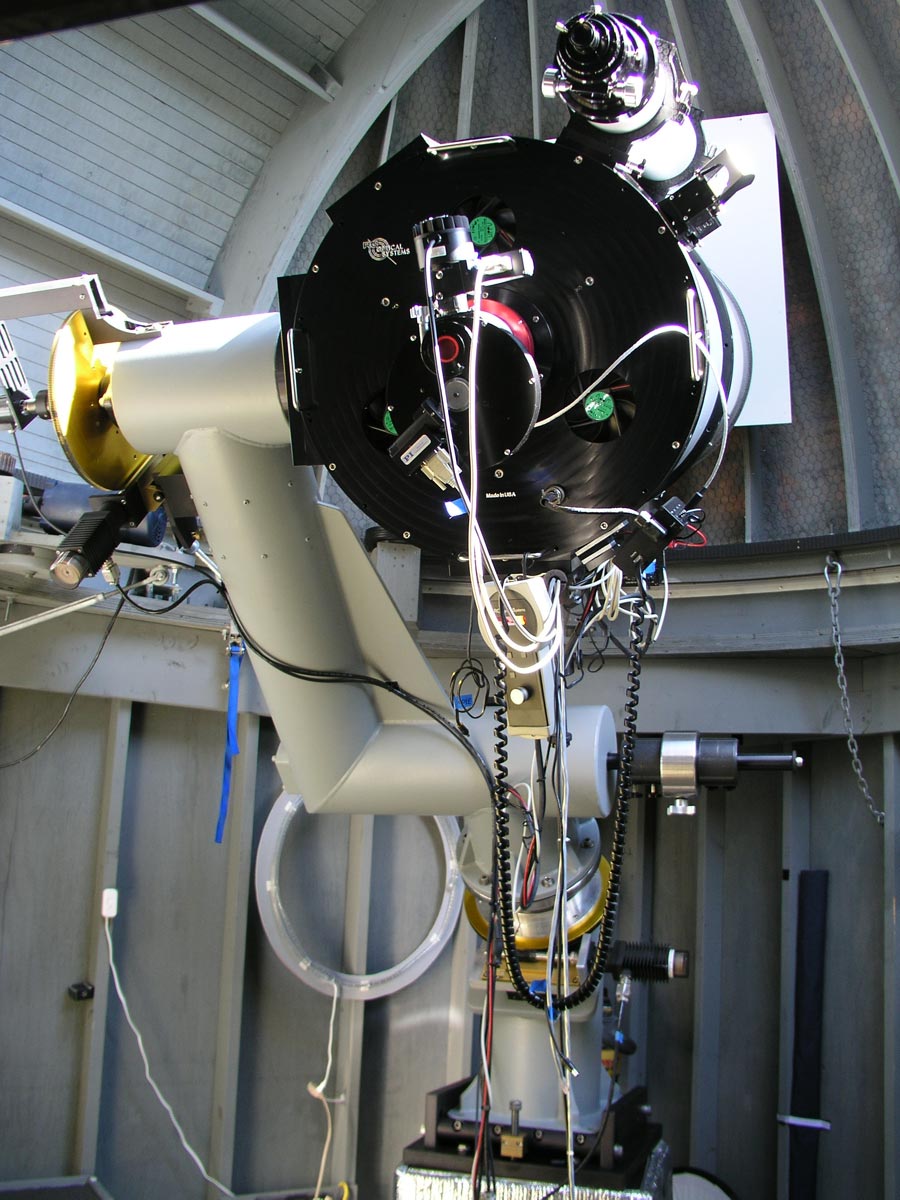
The 20" inch astrograph was replaced in 2003 with an outstanding RCOS 20" Ritchey Chretien installed in March 2003. The RC better suited my needs to move into high resolution imaging and RCOS's design is exceptionally good. There are times with faint nebulosities that I miss the f/5 ratio with it's much shorter exposure times for good signal to noise ratios in the image however that is why I built a 12" f/4 Newt astrograph to "fill the gap".
The 20" Newt telescope shown above is the 6th telescope that I have built. The scope has a 20" f/4 primary mirror from Galaxy Optics that worked well but suffered from cool down issues. Much thought went into the design of the optical tube assembly to optimize it for large area high resolution CCD imaging. In my CCD imaging experience I have learned that stray light, vignetting and optical path misalignments caused by component flexure are main contributors to degradation of image resolution and non uniformities in the illumination of the CCD image field. Additionally with the large but relatively thin primary, considerable care was given to the design to minimize thermal effects and mirror warp in an equatorial configuration. To solve mirror warp I modified a commercial, 18 point mirror cell that is made for equatorial scopes to include much improved edge ( whiffle tree design) supports over the simple 3 point technique that are available commercially. This modification alone significantly improved image quality.
A big challenge with any closed tube scope where the light double paths through the tube is the effect of air temperature gradients in the tube causing image destroying turbulence. Compounding this is the affect of a domed observatory where the internal temperatures rise during the day and cool less slowly than a roll off observatory during the night. A very positive benefit of a domed observatory is NO dewing during the night at the expense of increased thermal affects. To begin an imaging session I usually open the dome at least an hour before sunset and turn fans on that pull air out through the top of the tube and push air through the back end around the mirror. These are left on for 2 - 3 hours minimum. Once I feel the system is close to equilibrium ( sometimes never happens through the night if air temps continue to fall till the morning twilight times) I remove the top cover( with fans) and place the front cover on the back end to pull cool air through the tube opening at the top. Another caveat to my observatory location is that my observatory HAD to be west of our home due to the available property which causes house thermals to interfere with imaging on many nights especially in the winter.
My 20" scope has a 6" Astrosital secondary mirror to insure 100% illumination of the CCD's ( KAF1001E and 6303E's), has an 18 point flotation cell for the primary, high resolution micrometer tip/tilt adjustments for the secondary, 24" diameter fiberglass tube for the main scope to reduce stray light and provide a tight structure for optical alignment and very importantly allows a completely closed assembly when capped to keep Asian beetles ( epidemics in New England) and dust/pollen out when the scope is not being used. The focuser is a home made very rigid, 3" ID Crayford design focuser with stepper motor focus control. The 2" filter wheel is also homemade with stepper motor control and has 12 filter positions with two internal filter wheels.
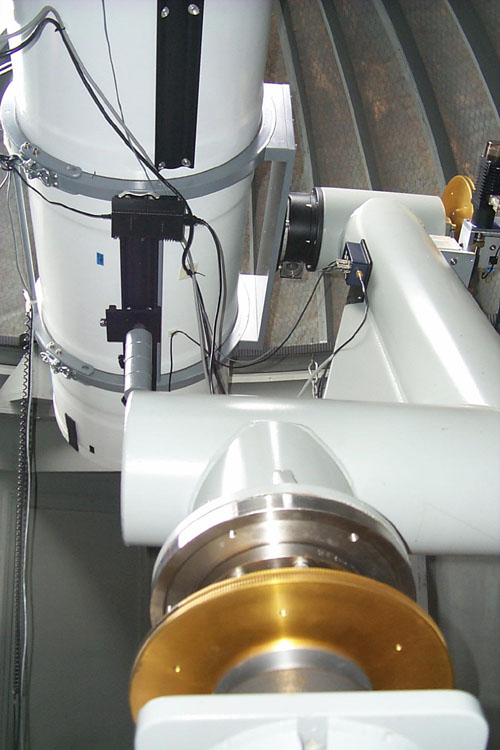
Both axes have 15" Byers Research Series worm gears and are driven by high accuracy mini stepped (2000 steps/rev) stepper motors. ( This was upgraded in 2005 to automation class brushless DC servomotor drives). The scope can slew very fast ( >10 degrees/sec) at maximum speed but that is just a little too scary so it is backjed down to 6 degrees/sec.. The mount is an unusual but robust single arm design made from aluminum tubing ( highway light pole road kill!) to be lightweight yet stiff. The project took 4 years to build and another 2 to perfect. There are always bugs in any design due to money constraints at the time or oversights ( many!) in the original design that need time to be worked out in field trials. Building the scope myself and scrounging parts saved a ton of money with the total system costing less than a good 6" APO OTA alone.
One of the biggest issues I had to deal with in the 20" Newt scope was the vignetting caused by commercial coma correctors. Since my scope is a fast f/4 system and the CCD is 1" square ( which makes a 35mm corner to corner dimension) commercial coma correctors are inadequate for producing high quality deep sky images. Lumicon has a 2" ( 48mm clear aperture) 2 element Coma Corrector that fails miserably for CCD imaging. The flare this corrector causes from any moderately bright star ruins most images and can cause great anxiety because the field appears be filled with comet looking objects. The problem most likely due to the shortcomings of the 2 element the optical design and the AR coating bandwidth.
I also used the ParaCorr Coma Corrector from Televue and though it was far superior optically, it was limited by a 42mm clear aperture. This caused severe vignetting on the KAF1001E CCD. Obtaining uniform wide field images were very difficult with the ParaCorr due to this vignetting. Most images of very faint objects were poor because the vignetting caused non-uniformities in the raw image that when calibrated with a flat field created complex gradients that were very difficult to eradicate with image processing not to mention the attendant loss of signal in the outer edges of the image. Another issue with the Paracorr is that the internal barrel of the optic is black anodized. This works well visually but for CCD imaging especially near bright stars this anodizing created strong stray light problems in the images. Eventually I took apart the ParaCorr and used an optical flat black paint to coat the internal barrel. This made significant improvements in the CCD images.
The problem of vignetting and obtaining good uniform images became so severe as I imaged fainter objects and moved to LRGB imaging, there was no recourse but to have a custom made field corrector made that was optimized for the large CCD I am using and the wavelength bandwidth. I commissioned Coastal Optical in Florida to do this and though quite expensive this turned out much better than I expected. This custom field corrector has a 3" clear aperture, consists of 4 elements, and is coated with a broader AR coating than standard MgFl. Flat fielding has become a breeze with very reproducable results. Taking raw LRGB frames has now become a very repeatable and high yield process with results that are very satisfying. Image processing though is time consuming!
The scope motion is controlled by an Astrometric Skywalker 1 that drives a high power 4 axis stepper motor amplifier. I obtained the Skywalker 1 in the fall of 1999 and it has worked very well since. This controller design got it’s start on the Schupmann refractor at Stellafane and the guys who developed this are very sharp electronically. In addition I have a 5" AstroPhysics f/8 EDT APO refractor that I use for a guidescope. I use the venerable SBIG ST237 as an off-axis autoguider on the main imaging train.
Other scopes in my arsenal include an 8" f/15 TEC MAK, 6"f/5 Newtonian, 12.5 " f/15/4 Cass/Newt. and a salvaged and personally restored 3" Bardou & Fil brass antique refractor which my wife uses tastefully for decorating our home!
RCOS 20 on homemade mount
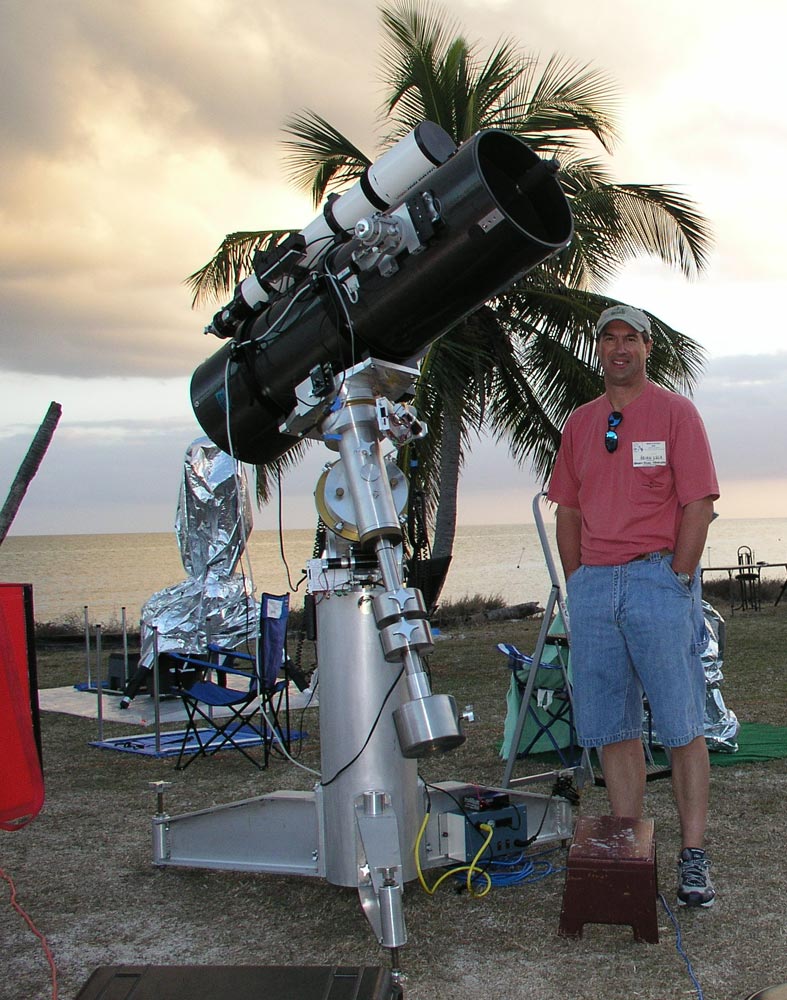
Lula 12" F/4 homebuilt Newt Astrograph and mount
Old 20" Newtonian Astrograph Telescope Construction Photos